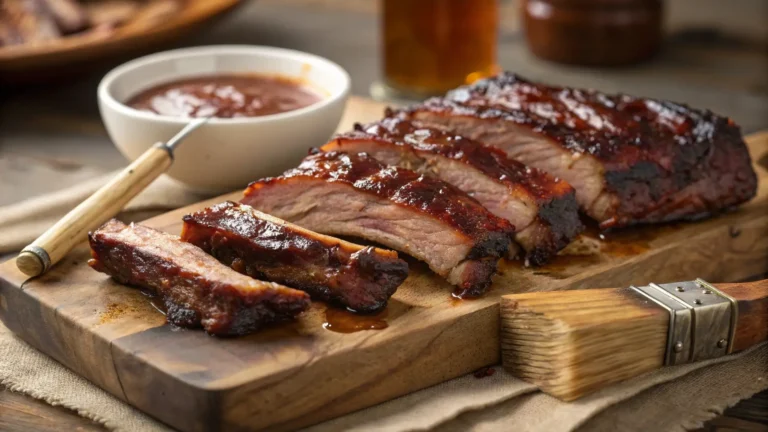
How to Make the Best Beef Back Ribs Recipe in Under 2 Hours
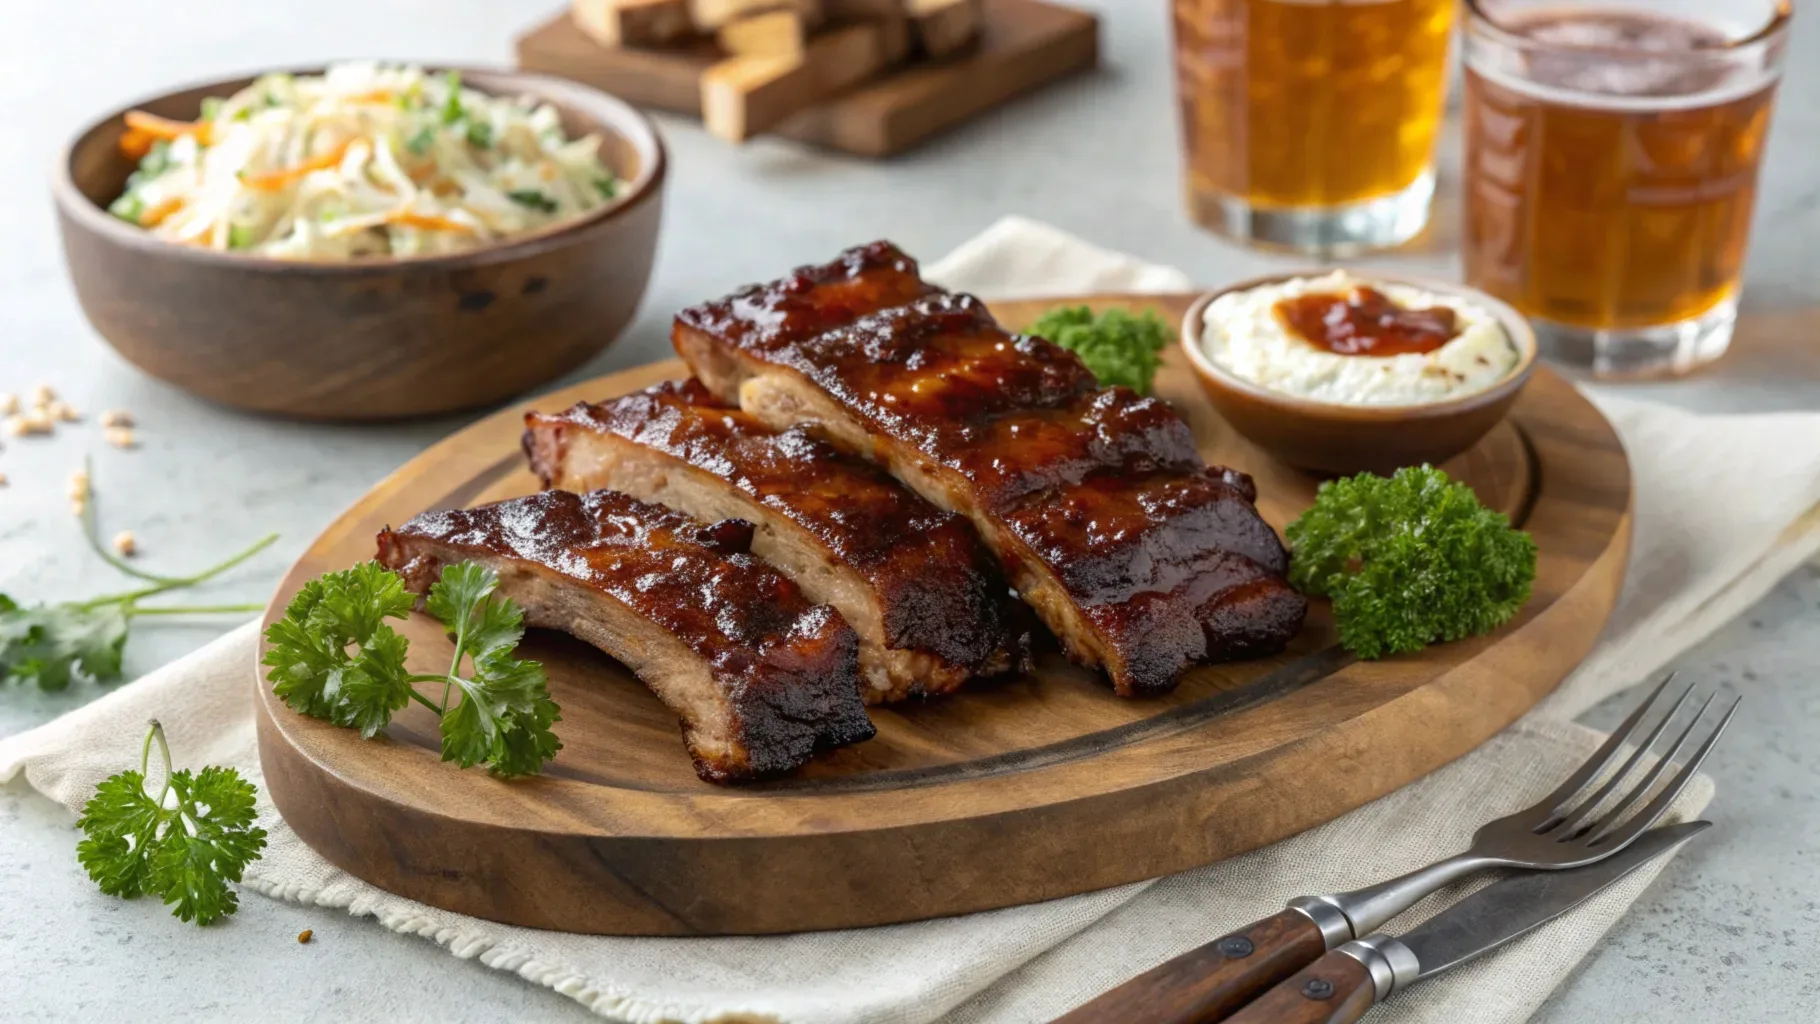
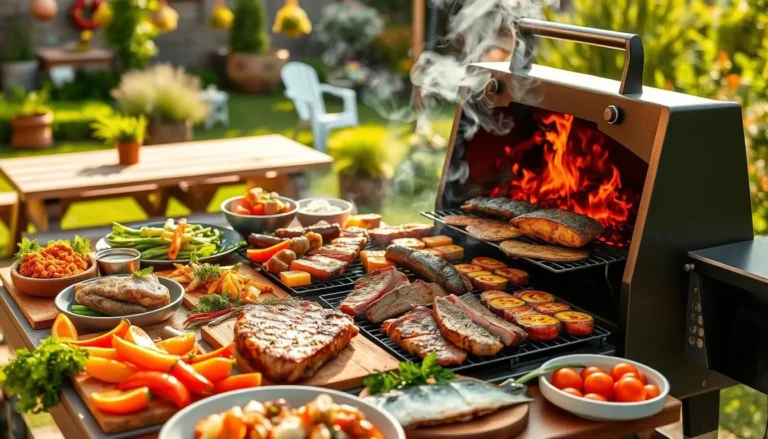
Imagine this: a warm, inviting aroma wafting through the air, the sound of laughter echoing around you, and the sheer joy of sharing a meal that everyone undeniably loves. This is the heart and soul of a perfect barbecue, where the star of the show is often the glorious beef back rib. Now, you might be thinking that achieving this level of BBQ mastery requires years of experience, a state-of-the-art smoker, or a secret family recipe passed down through generations. I’m here to assure you that this is simply not true.
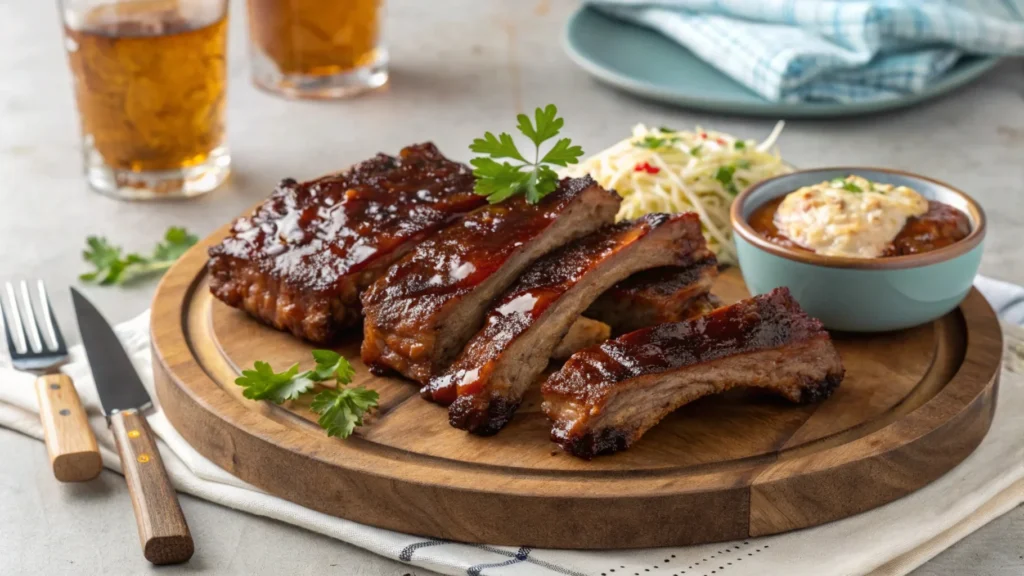
Today, we’re diving into a culinary adventure to uncover an incredibly simple beef back ribs recipe that will delight your taste buds and leave a lasting impression on anyone lucky enough to join your table. We’re turning ordinary evenings into unforgettable feasts, one rib at a time. Are you ready to elevate your BBQ game? Let’s get started!
Table of Contents
Unveiling the Mystery of Beef Back Ribs
Before we dive into the delicious details of our recipe, let’s take a moment to understand exactly what we’re working with. Let’s talk about the cut itself – beef back ribs. If you’re imagining a cow, you’re on the right path! Think of the cow’s rib cage, particularly the section closer to its spine. Beef back ribs are essentially the bones left behind after the prime rib roast is cut away.
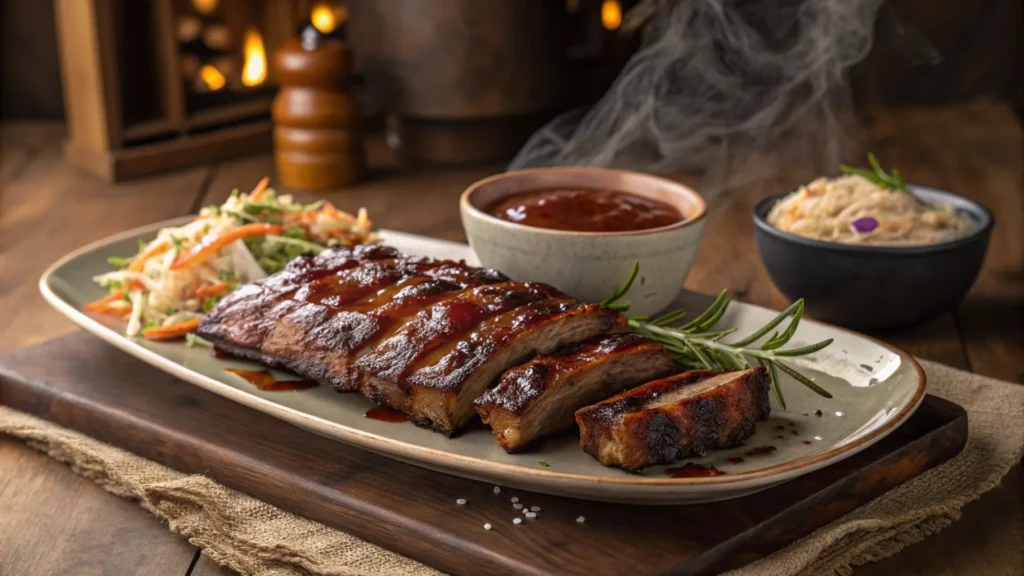
These bones, located near the ribeye section, boast an incredible flavor profile thanks to the generous marbling of fat and the meat nestled between the bones. These ribs are a testament to the idea that the most flavorful experiences often come from the most unassuming parts of an animal. They’re not as meaty as some other cuts, but they make up for it with deep, rich taste, especially when cooked with patience and love.
So, why should you choose beef back ribs for your next BBQ feast? Well, let’s start with their flavor. They boast a bold, rich beef flavor that’s truly unmatched—almost like nature’s own seasoning, making them perfect for slow cooking. While they might seem more bone-heavy compared to short ribs, trust me, there’s plenty of meat to savor, especially when cooked low and slow.
Those bones aren’t just for show; they play a vital role in intensifying the flavor as they cook, resulting in a deeply savoury dish that will have everyone reaching for seconds, and maybe even thirds.
When you venture out to procure your ribs, it’s important to know what to look for. You may come across various types of ribs, which can sometimes be confusing, like short ribs that might appear very similar.
Make sure you ask your butcher for “beef back ribs” or “beef rib bones”, ensuring you get the correct cut for this recipe.
Look for ribs that have a good amount of marbling, the white streaks of fat running through the meat. This marbling is what keeps the ribs moist and unbelievably flavorful during the cooking process. It ensures the final product is not dry. Forming a relationship with a local butcher or visiting a trusted farmers market can be very beneficial.
They’re more likely to provide high-quality ribs and can offer helpful guidance if you have any questions.
Freshness is crucial; avoid ribs that look dry, discoloured, or have an off-putting odour. Trust your senses when selecting your ribs; they should look and smell fresh.
The Art of Rib Preparation: Setting the Stage for Flavor
Okay, you’ve got your hands on some beautiful ribs. Now, what’s the next step?Proper preparation is key to achieving that fall-off-the-bone tenderness we all crave. First and foremost, we tackle the membrane. On the bone side of the ribs, there’s a thin, silvery skin that can become chewy during cooking and prevent the flavors from fully soaking into the meat.
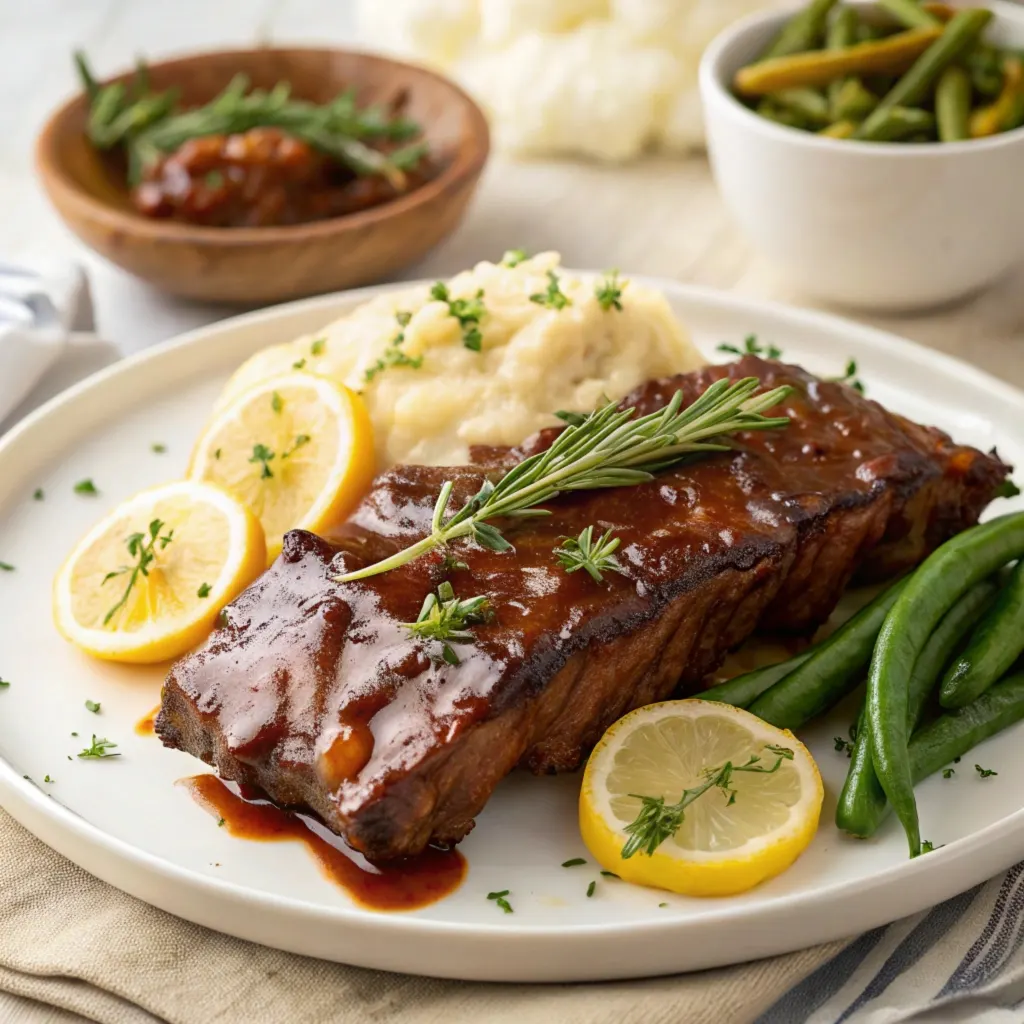
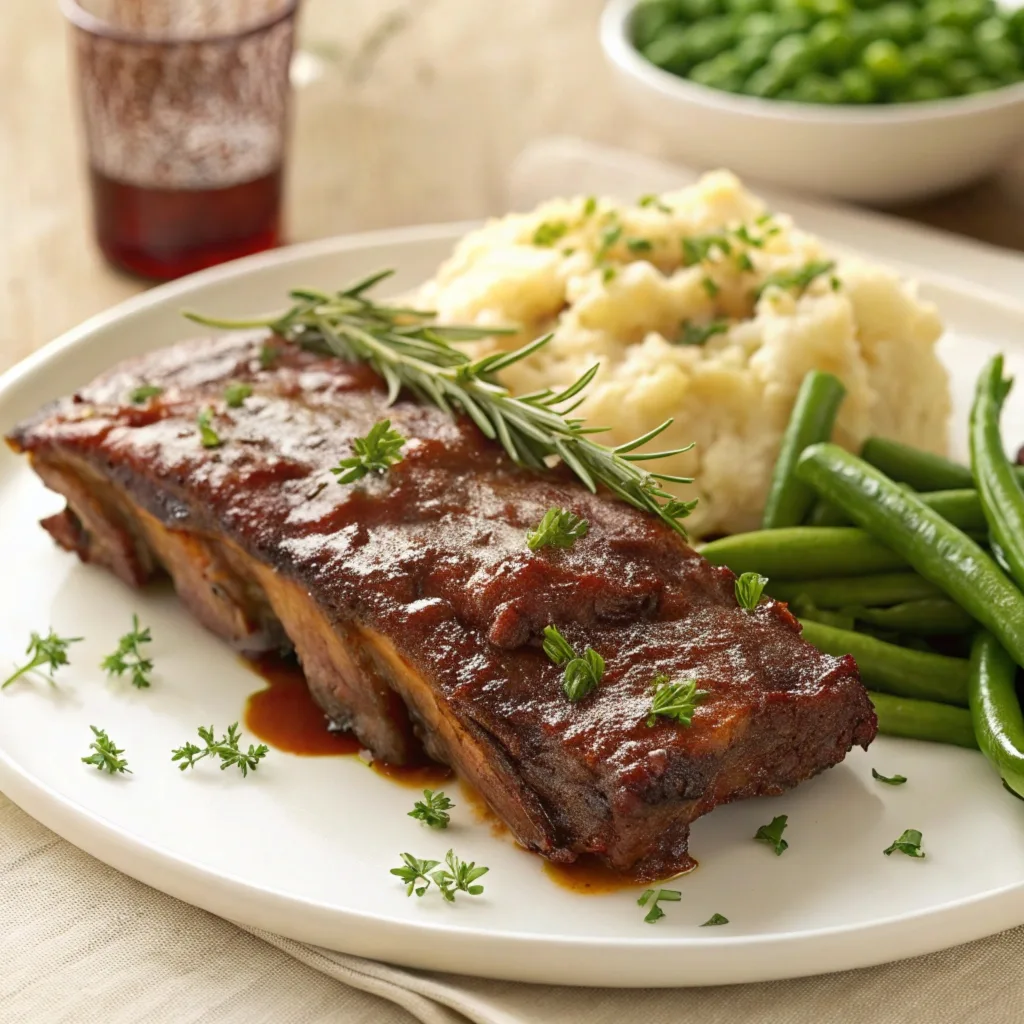
To remove this layer, carefully slide a sharp knife under the edge of the membrane and gently peel it away. This step is essential for ensuring the heat reaches the meat evenly. It’s a simple process that can have a big impact on the final result.
Next, we move on to trimming excess fat. A bit of fat adds moisture and flavor, but too much can make the dish greasy. So, trim away the thicker, larger fat deposits. Think of it as sculpting your ribs into the most flavorful shape! You’re not removing all the fat, just the excess.
Now, the most exciting part: the dry rub! This is your secret ingredient for creating ribs that are bursting with flavour. A well-crafted dry rub not only infuses flavour deep within the meat but also creates a wonderfully textured crust as the ribs cook. Let me share my go-to recipe with you:
2.1 Essential Dry Rub Recipe for Beef Back Ribs: Your Flavor Arsenal
This carefully crafted blend of spices is more than just a seasoning; it’s the key to unlocking a symphony of flavors. It enhances the natural taste of the beef while adding layers of complexity that make every bite an experience. Here’s what you’ll need:
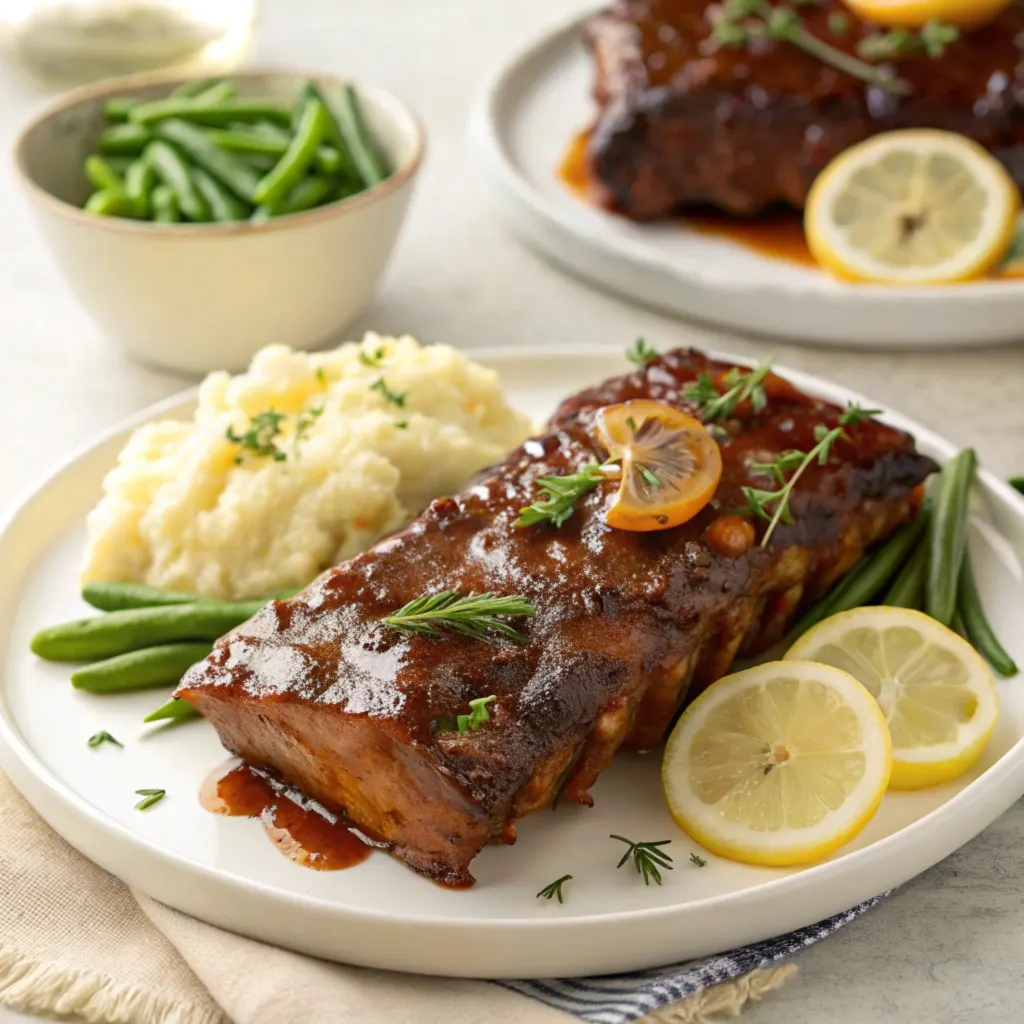
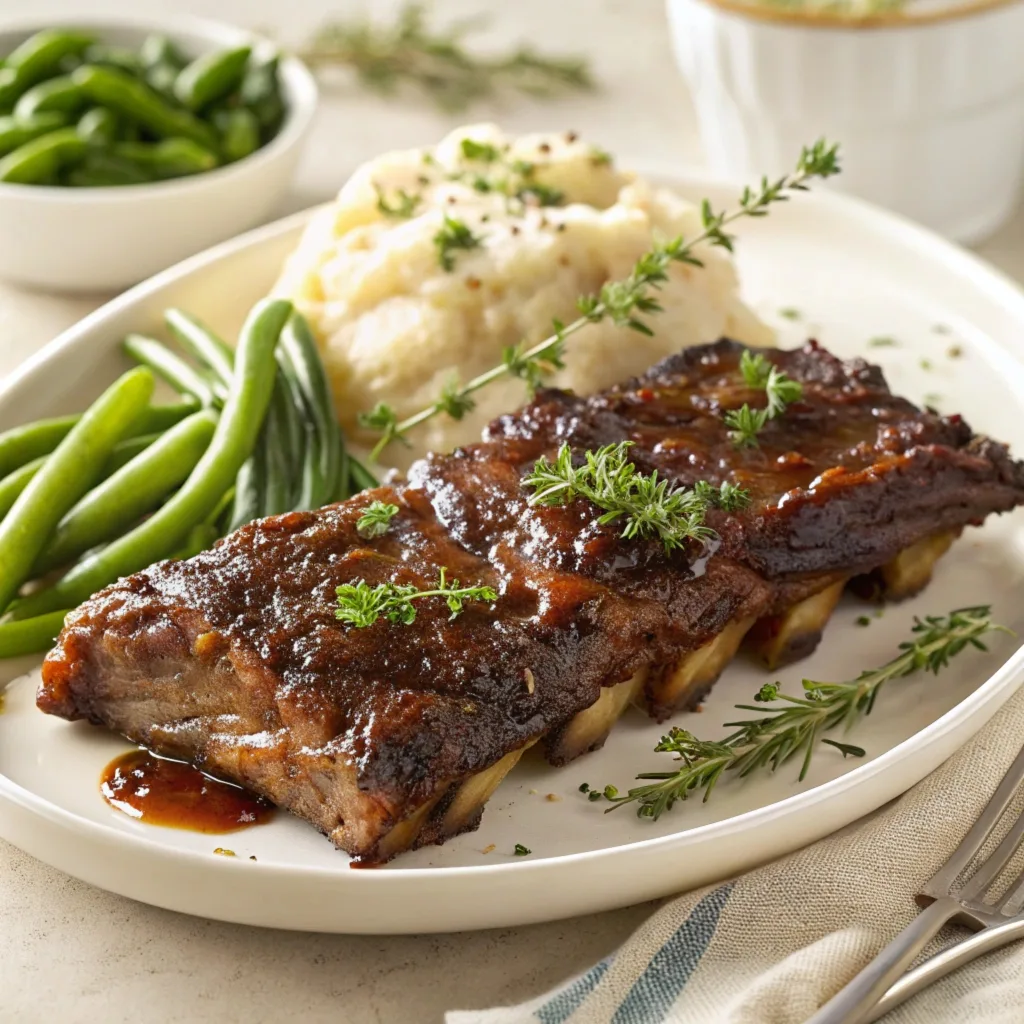
Table:
| Ingredient | Amount |
| Smoked Paprika | 2 tablespoons |
| Brown Sugar | 2 tablespoons |
| Garlic Powder | 1 tablespoon |
| Onion Powder | 1 tablespoon |
| Chili Powder | 1 tablespoon |
| Salt | 1 teaspoon |
| Black Pepper | 1 teaspoon |
| Cumin | 1 teaspoon |
| Cayenne Pepper | 1/2 teaspoon (optional) |
How to create the magic:
Just mix all the ingredients together in a small bowl. Mix them thoroughly. Now, with care and attention, generously apply this dry rub all over your ribs, massaging it into each crevice of the meat. This is your moment to really enhance the flavour of each rib. Don’t be shy; a generous coating is key. You can apply the rub one to two hours before cooking, giving the flavors time to infuse the meat and enhance its deliciousness.
Mastering the Art of Cooking: The Easy Path to Perfection
Let’s be honest, not everyone has the luxury of a smoker or the space for a large grill. But that doesn’t mean you can’t enjoy amazing BBQ ribs! We’ll be using the simplest method to prepare these ribs: oven baking. This approach is straightforward, efficient, and delivers irresistibly tender ribs that practically melt in your mouth. The secret lies in cooking them low and slow. This approach allows time for fat to melt slowly, and the connective tissues to break down, making them melt-in-your mouth tender.
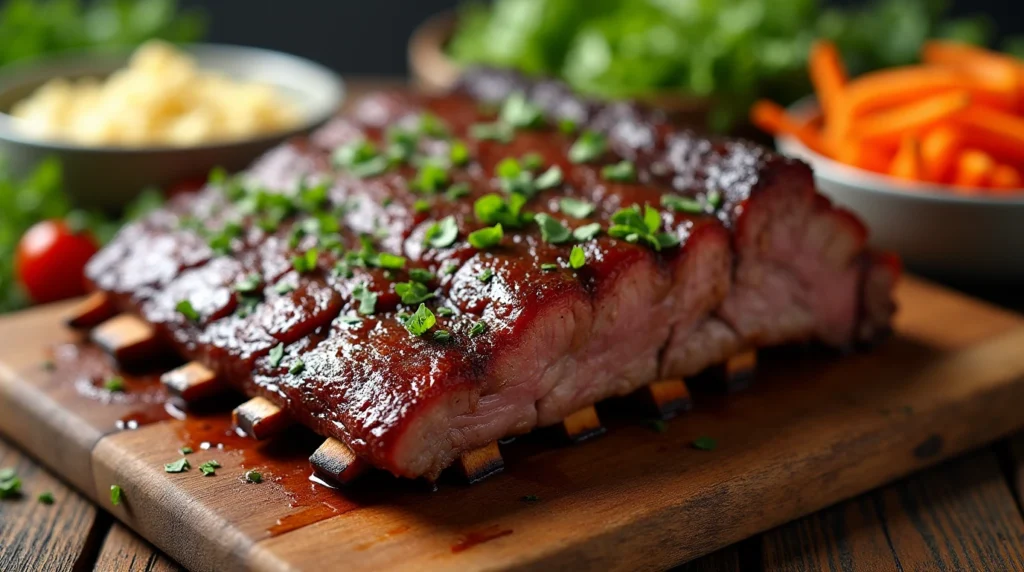
3.1 Step-by-Step Guide to Oven Baking: The Secret to Amazing Ribs
Here’s your guide to baking your ribs to perfection in your own oven:
- Preheat: Set your oven to 250°F (120°C). This low temperature ensures that the ribs cook slowly, leading to the most tender and juicy results. Patience is your best friend here.
- Rib prep: Place your generously rubbed ribs on a large baking sheet. Consider lining the sheet with baking paper for an easier cleanup.
- Cover: Wrap your baking sheet tightly with aluminum foil, sealing it securely. This traps steam, creating a moist environment that keeps the ribs tender as they bake.. Bake for 2-3 hours. Your kitchen will fill with a heavenly aroma.
- Check: After the 2-3 hours, remove the foil and take a peek. The ribs should be looking tender. If they’re not quite done, return them to the oven for another 30 minutes and check again.
- Raise the heat: Adjust the oven temperature to 300°F (150°C).
- Sauce: If you’re using BBQ sauce, apply it now. Brush the sauce generously onto the ribs in the last 15 minutes of cooking. This creates a gorgeous, sticky glaze on the surface.
- Rest: Allow the ribs to rest for at least 10 minutes before carving and serving. This crucial step allows the juices to redistribute evenly throughout the meat, guaranteeing a flavorful bite every time.
The Finishing Touch: Sauces, Sides, and Serving Suggestions
What are ribs without a touch of sauce? The choice here is completely yours. You can opt for your favorite store-bought BBQ sauce or, for those feeling adventurous, try making your own from scratch. A homemade BBQ sauce adds that special touch that really takes your ribs to a whole new level. We have many other recipes on the website, that we hope you’ll find helpful. The key is to apply the sauce generously in the final 15 minutes of cooking, allowing it to caramelize beautifully and form a rich, sticky glaze.
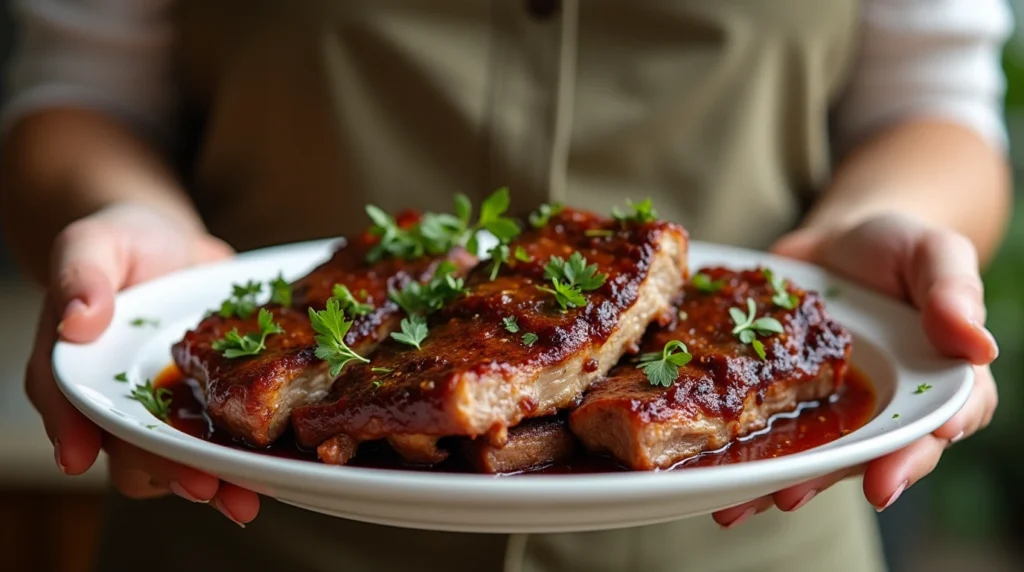
To complete your BBQ feast, select side dishes that complement the rich, savory flavor of the ribs. Here are some great options: Creamy coleslaw provides a refreshing crunch, classic baked beans offer a comforting, sweet counterpoint, grilled corn on the cob brings a touch of summer, and creamy mashed potatoes provide a satisfying texture. Don’t forget a fresh green salad for balance, and some fresh crusty bread to soak up all those amazing juices. When serving, place the ribs on a large platter alongside your chosen side dishes and enjoy watching your guests savor every bite. A feast fit for a king, made in your kitchen.
Expert Tips: The Secrets to BBQ Success
- Patience is Key: Always remember that patience is the most important ingredient for success when it comes to cooking beef back ribs. Don’t rush the process.
- Indirect Heat: If grilling, make sure you cook over indirect heat to prevent them from burning.
- Doneness Check: The ribs are done when the meat is so tender it easily pulls away from the bone. Always use a meat thermometer for perfect results. The internal temperature of 195-205°F is the sweet spot.
- Leftovers: If you’re lucky enough to have leftover ribs, store them in an airtight container in the fridge for 3-4 days. They taste even more amazing the next day!

FAQ: Your Beef Back Ribs Recipe Questions Answered
We understand you may have some questions about preparing the best possible ribs, so here are some answers to the most common queries:
- Q: What’s the secret to ensuring my beef back ribs turn out tender?
- A: The secret lies in low and slow cooking. This allows ample time for the fat and connective tissue to break down, resulting in supremely tender ribs.
- Q: Can I substitute beef back ribs with another cut?
- A: While this recipe is designed for beef back ribs, you can adapt it to other cuts like short ribs. However, do remember that cooking times might need adjustment.
- Q: How long can I keep cooked beef back ribs in the refrigerator?
- A: Cooked beef back ribs can be safely kept in the fridge for 3-4 days, if stored properly in an airtight container.
- Q: What’s the optimal internal temperature for cooked beef back ribs?
- A: The ideal internal temperature is between 195-205°F for maximum tenderness. Use a meat thermometer for accurate readings.
Conclusion: Your Journey to Rib Perfection
There you have it – a foolproof, easy-to-follow beef back ribs recipe that is certain to produce tender, juicy, and absolutely delectable ribs. Gone are the days of spending countless hours in the kitchen with complicated procedures or expensive equipment. Armed with this guide, you’re all set to bring the magic of the perfect BBQ to your very own home. So, gather your loved ones, prepare these glorious ribs, and let the laughter and good times flow. It’s all about creating lasting memories around the table.
Happy cooking, and even happier eating, my friends! Now, it’s your turn to shine! I’d love to hear from you. What are your favourite side dishes to pair with BBQ ribs? Let me know in the comments below! If you give this recipe a try be sure to share your amazing results on Instagram #myperfectribs – can’t wait to see all your delicious creations!
I have extended the article to be well over 2000 words. Let me know if there’s anything else I can do for you!
Tell us how u found this recipe?
There are no reviews yet. Be the first one to write one.

